

Microsoft Intune Device Preparation sometimes referred to as Autopilot V2 is a modern approach to Windows device enrolment that simplifies setup by eliminating the need to pre-import hardware hashes. Unlike traditional Autopilot, which requires IT admins to register devices in advance using a hardware ID, Device Preparation allows users to enrol their own devices using group-based targeting and policy automation.
This user-driven model streamlines deployment, reduces administrative overhead, and supports faster onboarding especially in environments where flexibility and scalability are key. However, it currently lacks some of the advanced controls and hybrid join options available in classic Autopilot, making it ideal for specific use cases rather than a full replacement.
In this tutorial, you’ll learn how to configure Device Preparation in Intune, create the necessary user and device groups, apply enrolment restrictions, and ensure apps and policies are deployed correctly all with step-by-step guidance and best practices.
Setting Up Required Groups for Deployment
To begin, we need to create two groups in Microsoft Intune: a user group and a device group.
- Open a web browser and navigate to Microsoft Intune.
- Go to ‘Groups’ and select ‘New Group’.
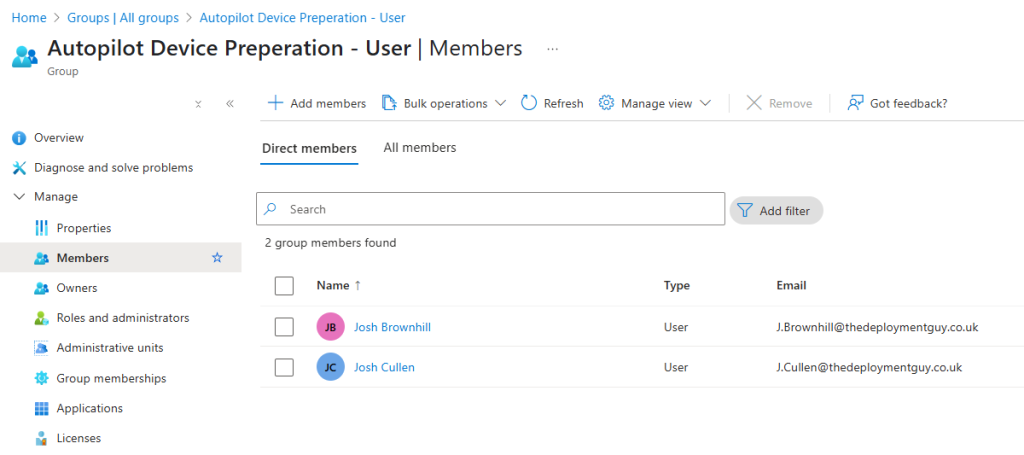
- Create a user group named ‘Autopilot Device Preparation – User’.
- Set Membership type to ‘Assigned’ and add members
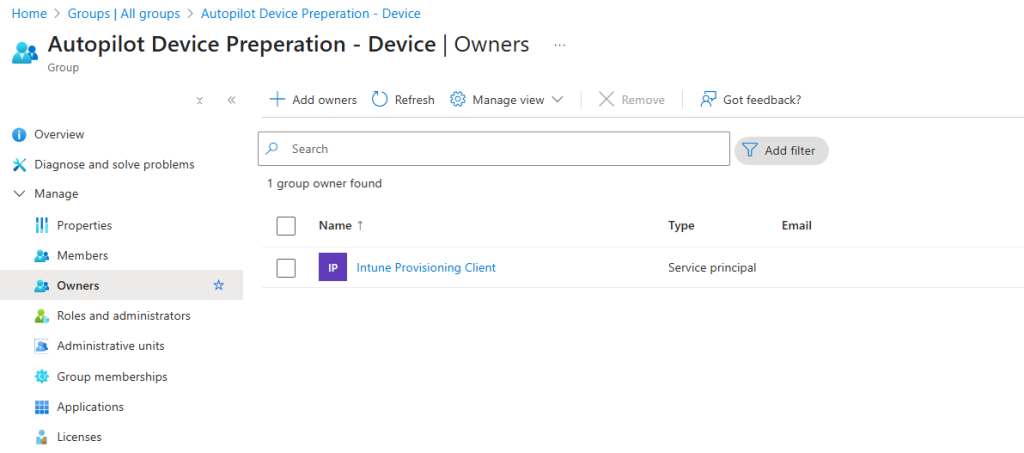
- Create a device group with the ‘Autopilot Device Preparation – Device’.
- Assign ‘Intune Provisioning Client’ as the owner
Creating a Device Preparation Policy
- Go to ‘Devices’ > ‘Enrollment’ > ‘Device Preparation Policies’.
- Click ‘Create’ and under basics name the policy (e.g., ‘Autopilot Device Preparation Policy’).
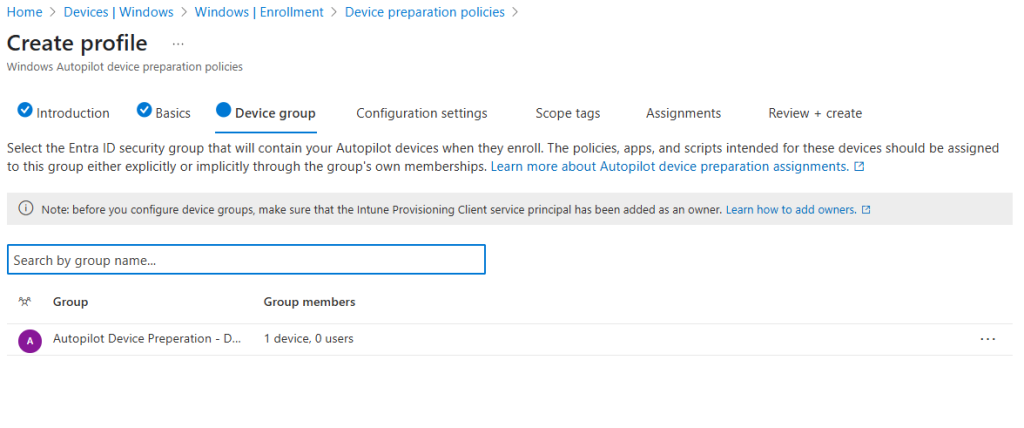
- Assign the previously created device group.
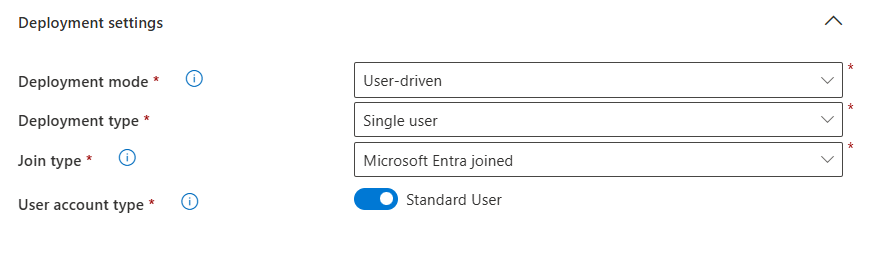
- Configure settings such as deployment mode, join type, and user account type.
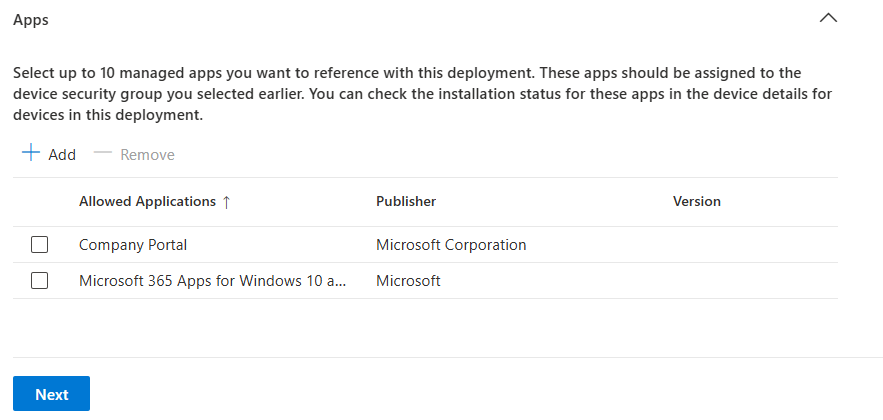
- Configure Out-of-box experience settings

- Add apps like Company Portal and Microsoft 365 Apps.
- Assign the policy to the user group.
Deploying Required Applications
Because Device Preparation policies don’t automatically install apps they only define the enrolment experience. Marking apps like Company Portal or Microsoft 365 as required ensures they’re pushed to the device during setup, so users have the tools they need immediately after sign-in.
- Go to ‘Apps’ > ‘Windows’.
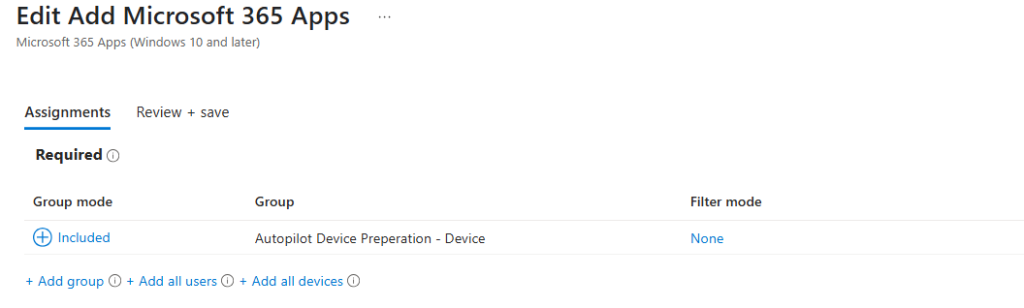
- Select ‘Company Portal’ > ‘Properties’ > ‘Assignments’.
- Add the device group to the assignments.
- Repeat for Microsoft 365 Apps and any other apps.
Configuring Device Platform Restrictions
This step ensures that only corporate-owned devices can be enrolled into Intune using Device Preparation.
Why it matters:
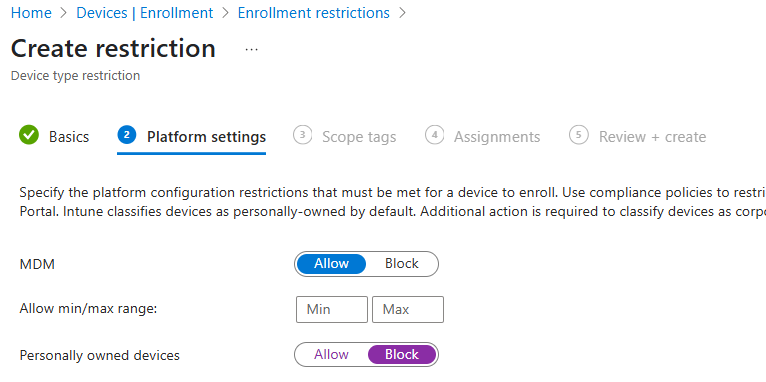
By default, Intune allows both personal and corporate devices to enrol. Without restrictions, users might accidentally enrol personal devices, leading to privacy concerns and unnecessary management overhead. Blocking personally owned devices ensures that only pre-approved, corporate-identified hardware can complete the enrolment process.
- Go to ‘Devices’ > ‘Enrolment’ > ‘Device Platform Restrictions’.
- Create a new restriction named ‘Windows Device Restriction’.
- Set ‘Personally Owned Devices’ to ‘Blocked’.
- Assign the restriction to all users.
Managing Corporate Device Identifiers
This step ensures that Intune can recognize a device as corporate-owned during enrolment especially important when using Device Preparation, which doesn’t rely on hardware hash pre-registration like traditional Autopilot.
Why it matters:
Since Device Preparation is user-driven, Intune can’t automatically tell if a device is personal or corporate. If you’ve blocked personal device enrolment (as recommended), any unrecognized device will fail to enrol. By uploading a CSV with the device’s manufacturer, model, and serial number, you explicitly mark it as corporate, allowing enrolment to proceed.
Create the CSV file
First, gather the required device information:
- Vendor
- Model
- Serial Number
To retrieve this info from a sample device, open Command Prompt and run:
wmic csproduct get vendor,name,identifyingnumber- Copy the output into a CSV file with the following format from the below example:
Microsoft Corporation,Virtual Machine,1234-5678- If you’ve purchased a batch of identical devices, you can reuse the same Vendor and Model (Name) values across all entries. In many cases, you may be able to collect the Serial Numbers (IdentifyingNumber) directly from an order confirmation, delivery note, or asset list—saving you from having to run the command on each individual device.
Upload the CSV to Intune
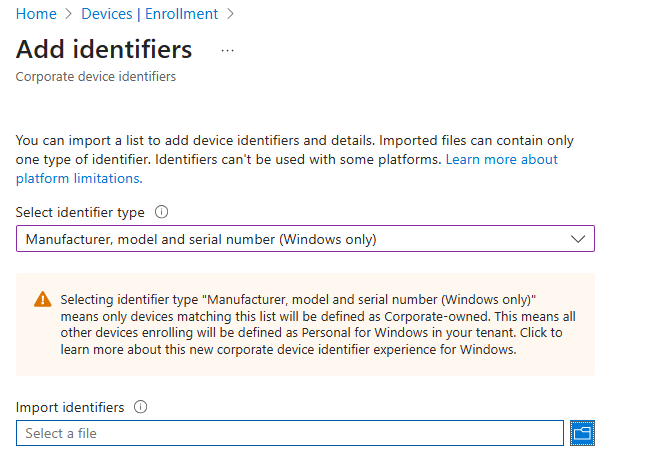
- Go to Devices > Enrollment > Corporate Device Identifiers
- Click Add and choose Upload CSV
- From the drop down select Manufacturer, model and serial number (Windows only)
- Select the file you created and upload it
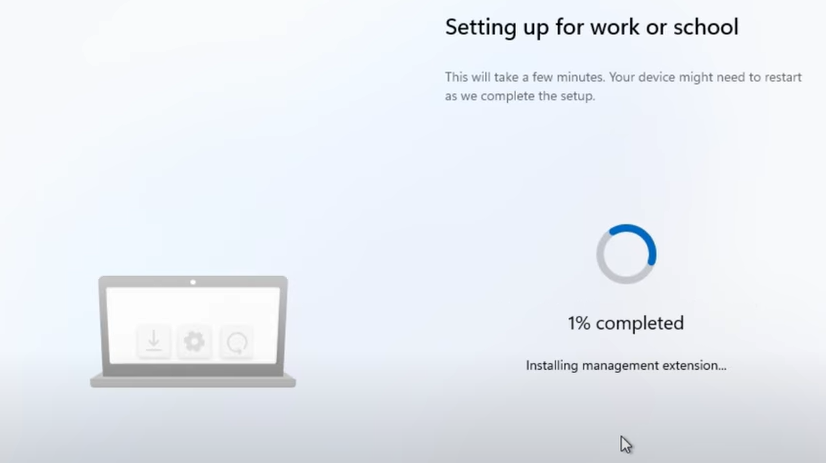
Out-of-Box Experience (OOBE) Configuration
- Boot the test machine and go through the OOBE setup.
- Sign in with a user from the group (e.g., j.cullen@thedeploymentguy.co.uk).
- Observe the new progress bar and answer setup questions.
- Skip Windows updates if needed.
Post-OOBE Login and Desktop Setup
- Log in with the user account.
- Verify that apps like Excel, Teams, Outlook, PowerPoint, Word, and Company Portal are installed.
Conclusion
This tutorial walked you through configuring Autopilot Device Preparation in Microsoft Intune—from setting up user and device groups to applying enrollment restrictions and deploying essential apps. By following these steps, you can streamline device onboarding and ensure a consistent, policy-driven experience for your users.
If you found this guide helpful, be sure to check out more tutorials on my YouTube channel:
🔗 https://www.youtube.com/@thedeploymentguy
Don’t forget to subscribe for regular tips, walkthroughs, and best practices on Microsoft Intune and modern device management!
Overview of Windows Autopilot device preparation | Microsoft Learn